Version: 6.12.2

MobX

MobX is one of the most popular state management libraries used by applications sized from small to large. With the introduction of the new React Context API, MobX can now be very easily integrated in React Native Navigation projects.

Note

With the introduction of the new Context API, there is no need to use Provider pattern with MobX and you can now just use the React Context API.

Also the example uses mobx-react-lite but you can use the normal mobx-react.

Sharing a store between multiple screens#

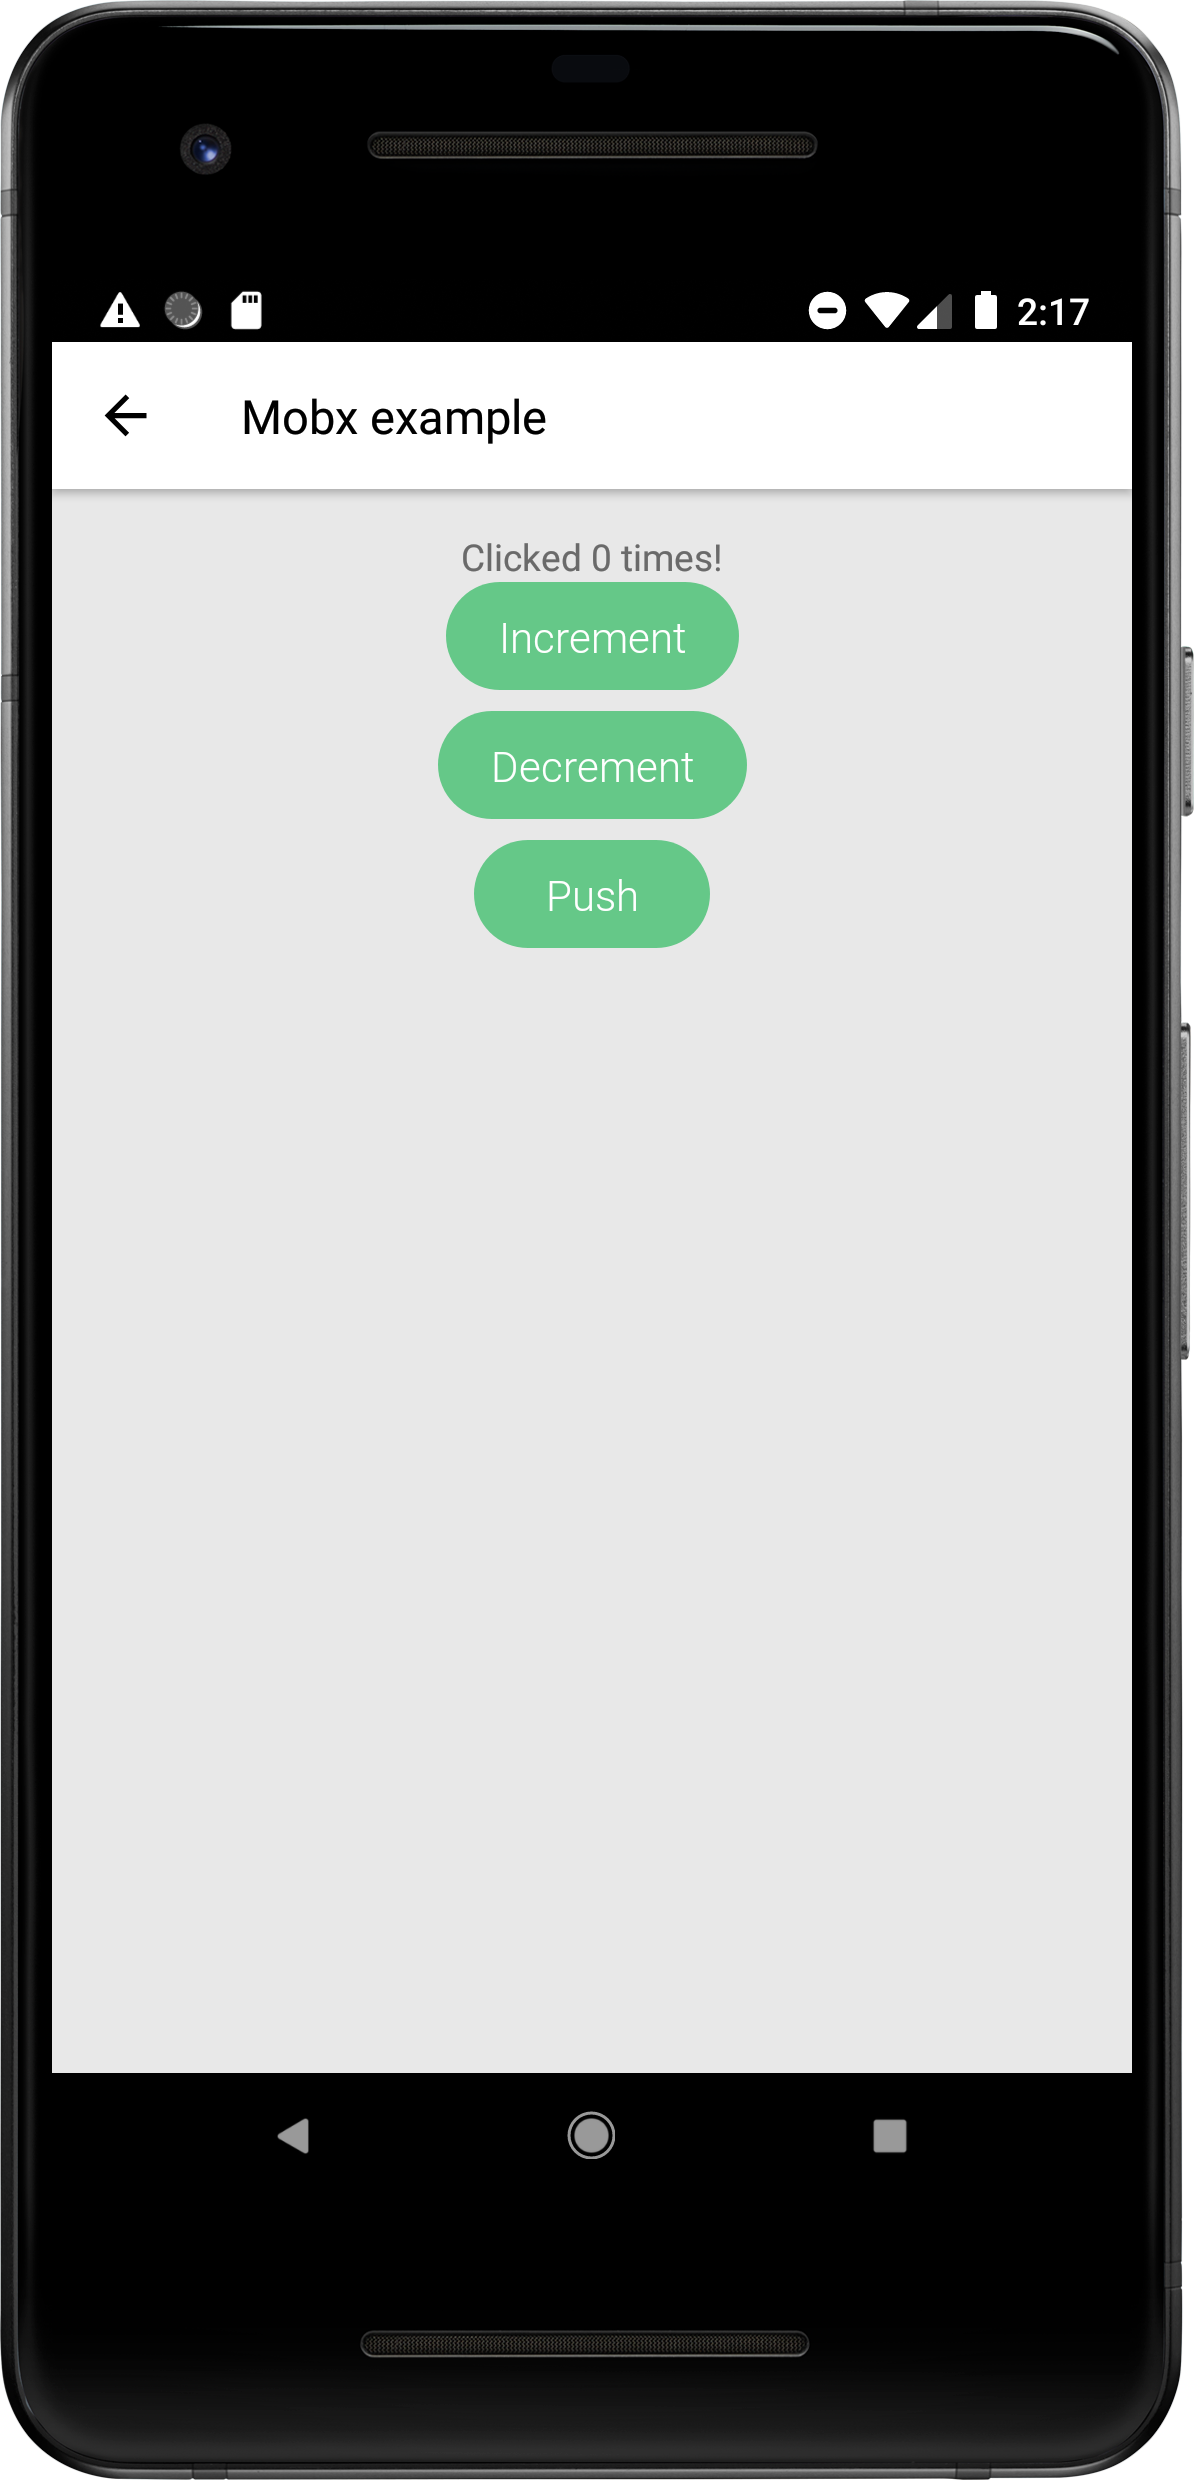
In the example below we will be creating a small Counter app. We will learn how to integrate Mobx with React-Native-Navigation and demonstrate how updating the store from one component, triggers renders in other components connected to the same store.

Once you finish implementing the example, your screen should look similar to this:

Step 1 - Create a Counter store#

Let's first create a counter store using MobX. Our store has a single count object and two methods to increment and decrement it.

// counter.store.js
import React from 'react';
import { observable, action } from 'mobx';
class CounterStore {
@observable count = 0;
@action.bound
increment() {
this.count += 1;
}
@action.bound
decrement() {
this.count -= 1;
}
}
// Instantiate the counter store.
const counterStore = new CounterStore();
// Create a React Context with the counter store instance.
export const CounterStoreContext = React.createContext(counterStore);

Step 2 - Consuming the store#

You can consume the Counter store in any React components using React.useContext.

// CounterScreen.js
import React from 'react';
import { Button, Text, View } from 'react-native';
import { observer } from 'mobx-react-lite';
import { CounterStoreContext } from './counter.store';
const CounterScreen = observer((props) => {
const { count, increment, decrement } = React.useContext(CounterStoreContext);
return (
<Root>
<Text>{`Clicked ${count} times!`}</Text>
<Button title="Increment" onPress={increment} />
<Button title="Decrement" onPress={decrement} />
<Button title="Push" onPress={() => Navigation.push(props.componentId, 'CounterScreen')} />
</Root>
);
});
module.exports = CounterScreen;

How to use MobX persistent data#

Often the app will require a persistent data solution and with MobX you can use mobx-react-persist. It only takes few extra steps to integrate the library.

//counter.store.js
import React from 'react';
import { observable, action } from 'mobx';
import { persist } from 'mobx-persist'; // add this.
class CounterStore {
@persist @observable count = 0; // count is now persistent.
@action.bound
increment() {
this.count += 1;
}
@action.bound
decrement() {
this.count -= 1;
}
}
export const counterStore = new CounterStore(); // You need to export the counterStore instance.
export const CounterStoreContext = React.createContext(counterStore);
// index.js
import { Navigation } from 'react-native-navigation';
import AsyncStorage from '@react-native-community/async-storage';
import { create } from 'mobx-persist';
import { counterStore } from './counter.store'; // import the counter store instance.
// Create a store hydration function.
async function hydrateStores() {
const hydrate = create({ storage: AsyncStorage });
await hydrate('CounterStore', counterStore);
}
Navigation.events().registerAppLaunchedListener(() => {
hydrateStores().then(() => {
// ...register screens and start the app.
});
});