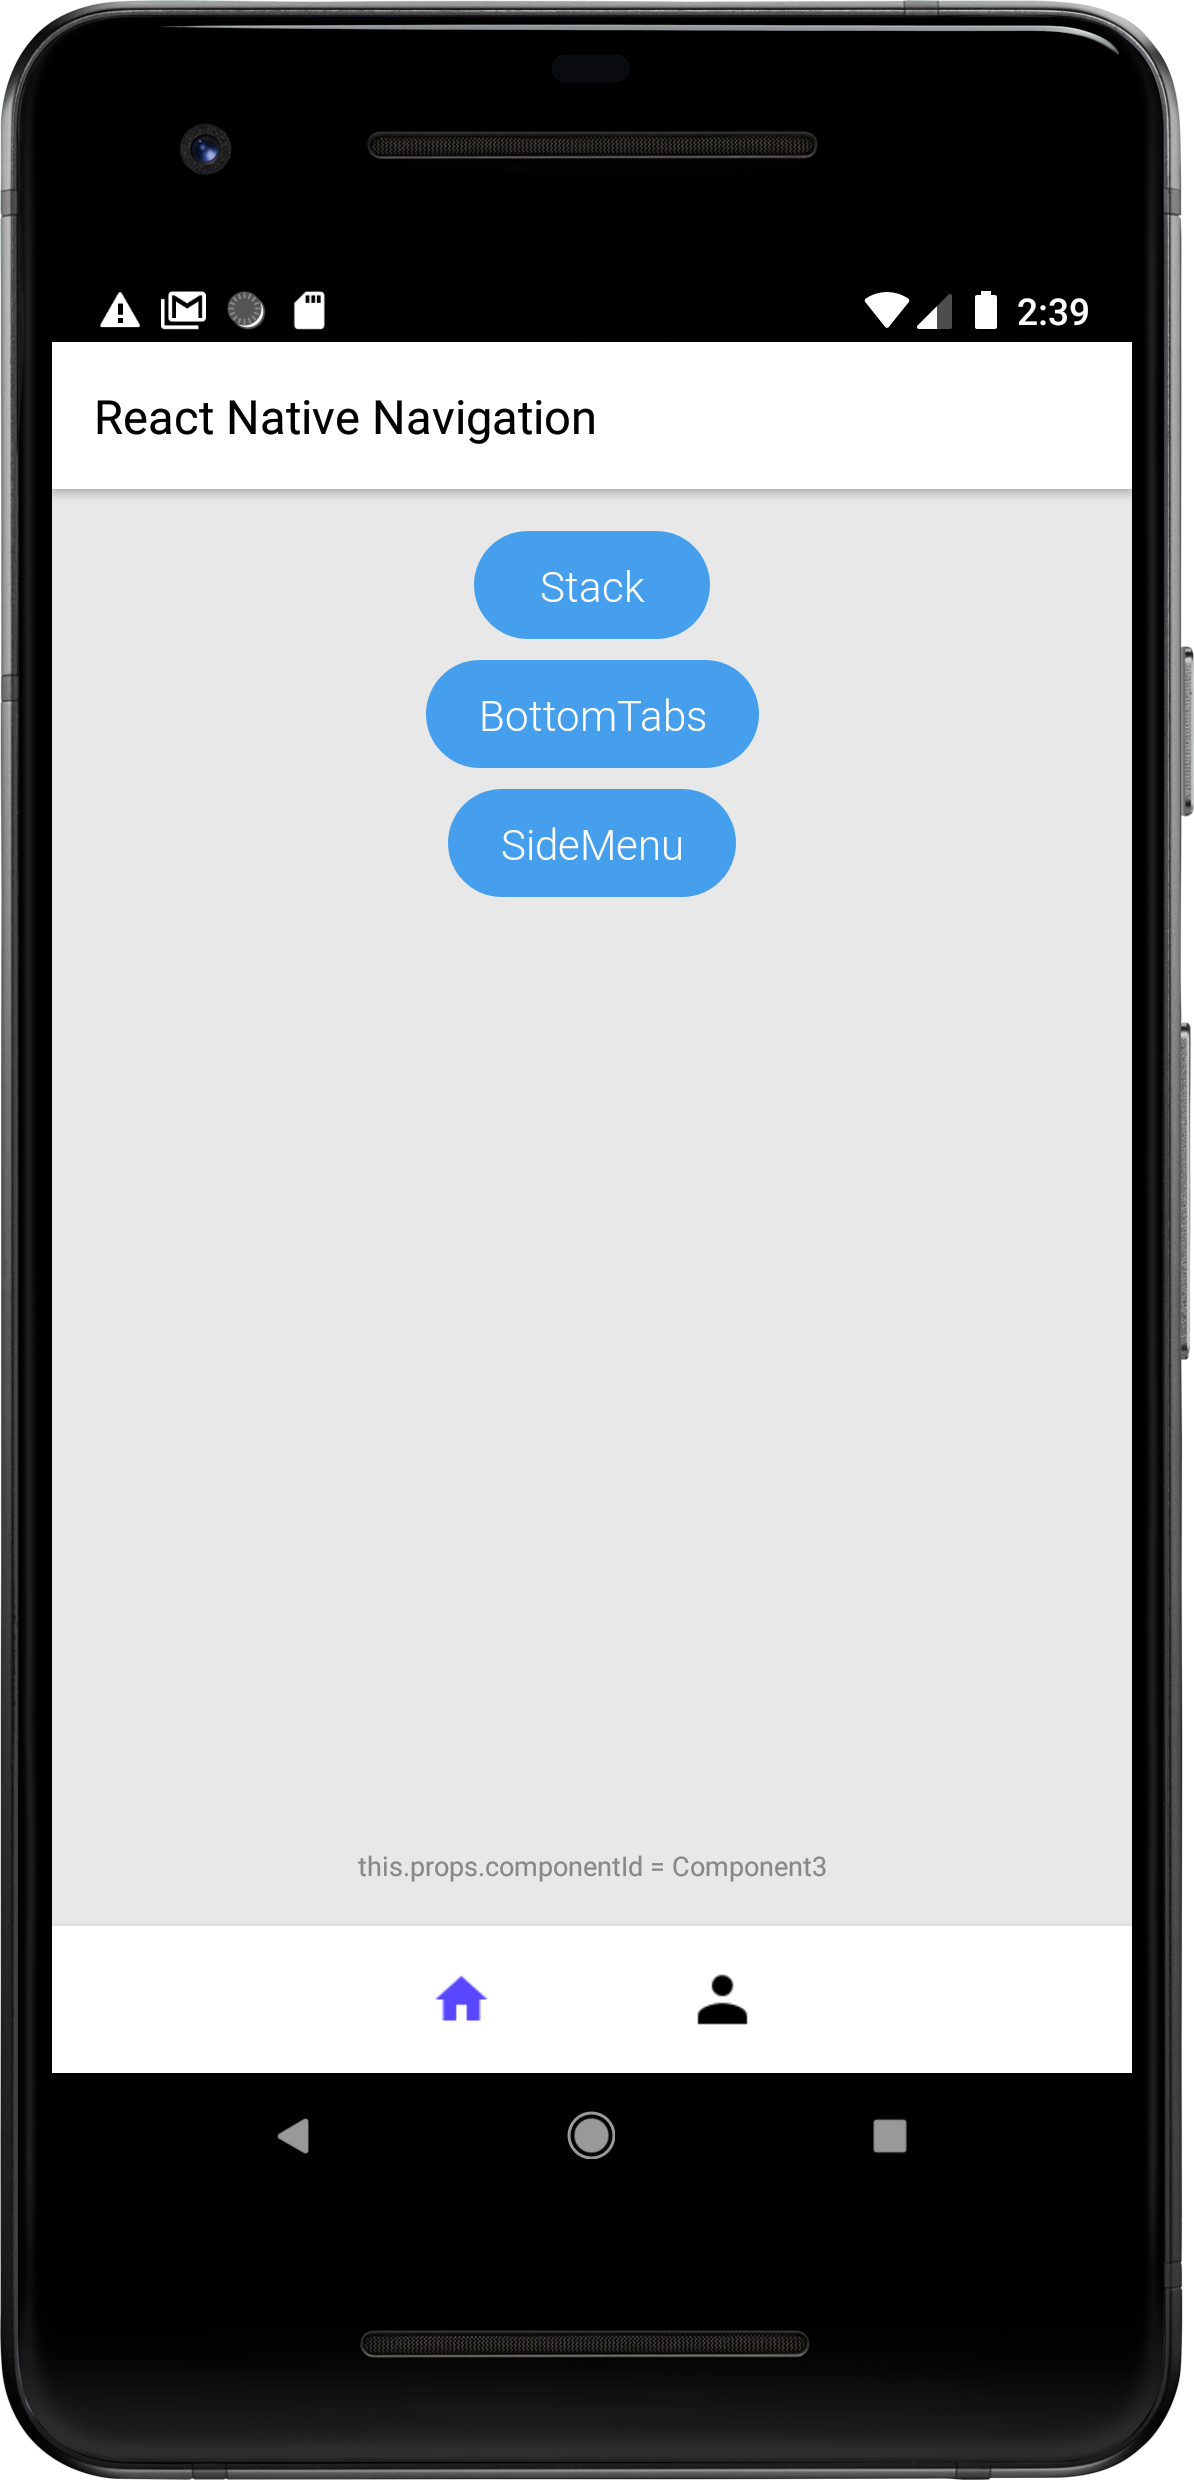
Bottom tabs
Bottom tabs refers to a row of links, displayed at the bottom of the screen, and is referred to as "Tab Bar" in iOS and as "Bottom Navigation Bar" on Android. Usually these are intended to be used to switch between top-level content views with a single tap.
Creating bottom tabs#
BottomTabs provide flat navigation and access to up to five equally important top-level root destinations. While any type of layout can be displayed in a tab, typically, Stacks are used, since they allow for vertical navigation within a tab.
Example#
Lets see how to create a simple BottomTabs layout. There are a few things to notice here:
- Each child represents a tab on the screen.
- The root layout for each tab is a stack to allow for vertical navigation within the tab.
- Each stack declares
bottomTaboptions which are used to configure the tab's text, icon, color etc.
Once we run this code, our BottomTabs should look like this:
Selecting Tabs Programmatically#
Tabs can be selected programmatically by updating the currentTabIndex or currentTabId options.
We'll use the BottomTabs layout showcased above to demonstrate programmatic tab selection.
Selecting a tab by index#
The following mergeOptions command will select the second tab. We're passing the id of our BottomTabs layout, but we could also use the id of any of the child components, for example PROFILE_TAB or PROFILE_SCREEN.
Selecting a tab by id#
Tabs can also be selected by id (componentId). This is particularly useful in cases where you don't know in which tab a screen is contained.
For example, if invoked from one of the child components, HOME_SCREEN or SETTINGS_SCREEN, the following merge command will select the tab containing the child.
Changing BottomTabs visibility#
The visible property is used to control the BottomTab visibility. Visibility can be toggled dynamically using the mergeOptions command.
Visibility can also be changed when pushing screens.
Updating tab options dynamically#
To update a tab option, like an icon, text or color, simply call mergeOptions with new options using the id of a component or layout contained in the tab you wish to update.
For instance, in the example below we update the color of a specific tab:
Styling the tabs#
The bottom-tabs feature support for an enhanced, floating-like layout that offers a modern and visually appealing alternative to the default design. This layout creates the illusion of the tabs hovering above the screen content, adding depth and sophistication to the user interface.
To achieve this effect (and fully customize it), you can use the following bottom-tabs styling options:
- Setting
layoutStyle: compactkeeps the tabs container from taking up the entire screen width, thus leaving room for the screen content to appear on both its sides. - The
translucentproperty adds a semi-transparent background, whiledrawBehindandbottomMarginallow the screen content to flow beneath the hovering tabs. - The
cornerRadiusrounds the edges of the tabs, giving them a soft, card-like appearance.
Note: Settings some of the options via
mergeOptionsis discouraged, as they'd only apply for the currently visible tab.
Controlling tab loading#
By default, all tabs are mounted at the same time. This can have a negative impact on performance since screens which are not visible to the user are mounted.
The order in which tabs are mounted can be configured with the tabsAttachMode option:
together- all tabs are mounted at the same time, this is the default behavior.afterInitialTab- after initial tab is mounted, other tabs are mounted.onSwitchToTab- initial tab is mounted, other tabs are mounted when the user navigates to them for the first time.