Version: 7.25.4

Advanced navigation

Tab navigation#

As mobile applications become bigger and more complex, they usually end up containing multiple primary high-level destinations, which are logically independent from one another. The BottomTabs layout is often used when an app contains three to five top-level destinations which should be accessible from anywhere in the app.

Lets return to the example code from the previous section (Basic navigation) and see how we can convert it to a tab-based application. We'll use the BottomTabs layout to display tabs at the bottom of the screen. Similarly to Stack layout, The BottomTabs layout also contains a children property where each child will be displayed in a tab.

Lets change our code to the following and reload the app.

import React from 'react';
import { View, Text, Button, StyleSheet } from 'react-native';
import { Navigation } from 'react-native-navigation';
const HomeScreen = (props) => {
return (
<View style={styles.root}>
<Text>Hello React Native Navigation πŸ‘‹</Text>
<Button
title='Push Settings Screen'
color='#710ce3'
onPress={() => Navigation.push(props.componentId, {
component: {
name: 'Settings'
}
})} />
</View>
);
};
HomeScreen.options = {
topBar: {
title: {
text: 'Home'
}
},
bottomTab: {
text: 'Home'
}
};
const SettingsScreen = () => {
return (
<View style={styles.root}>
<Text>Settings Screen</Text>
</View>
);
}
SettingsScreen.options = {
topBar: {
title: {
text: 'Settings'
}
},
bottomTab: {
text: 'Settings'
}
}
Navigation.registerComponent('Home', () => HomeScreen);
Navigation.registerComponent('Settings', () => SettingsScreen);
Navigation.setDefaultOptions({
statusBar: {
backgroundColor: '#4d089a'
},
topBar: {
title: {
color: 'white'
},
backButton: {
color: 'white'
},
background: {
color: '#4d089a'
}
},
bottomTab: {
fontSize: 14,
selectedFontSize: 14
}
});
Navigation.events().registerAppLaunchedListener(async () => {
Navigation.setRoot({
root: {
bottomTabs: {
children: [
{
stack: {
children: [
{
component: {
name: 'Home'
}
},
]
}
},
{
stack: {
children: [
{
component: {
name: 'Settings'
}
}
]
}
}
]
}
}
});
});
const styles = StyleSheet.create({
root: {
flex: 1,
alignItems: 'center',
justifyContent: 'center',
backgroundColor: 'whitesmoke'
}
});

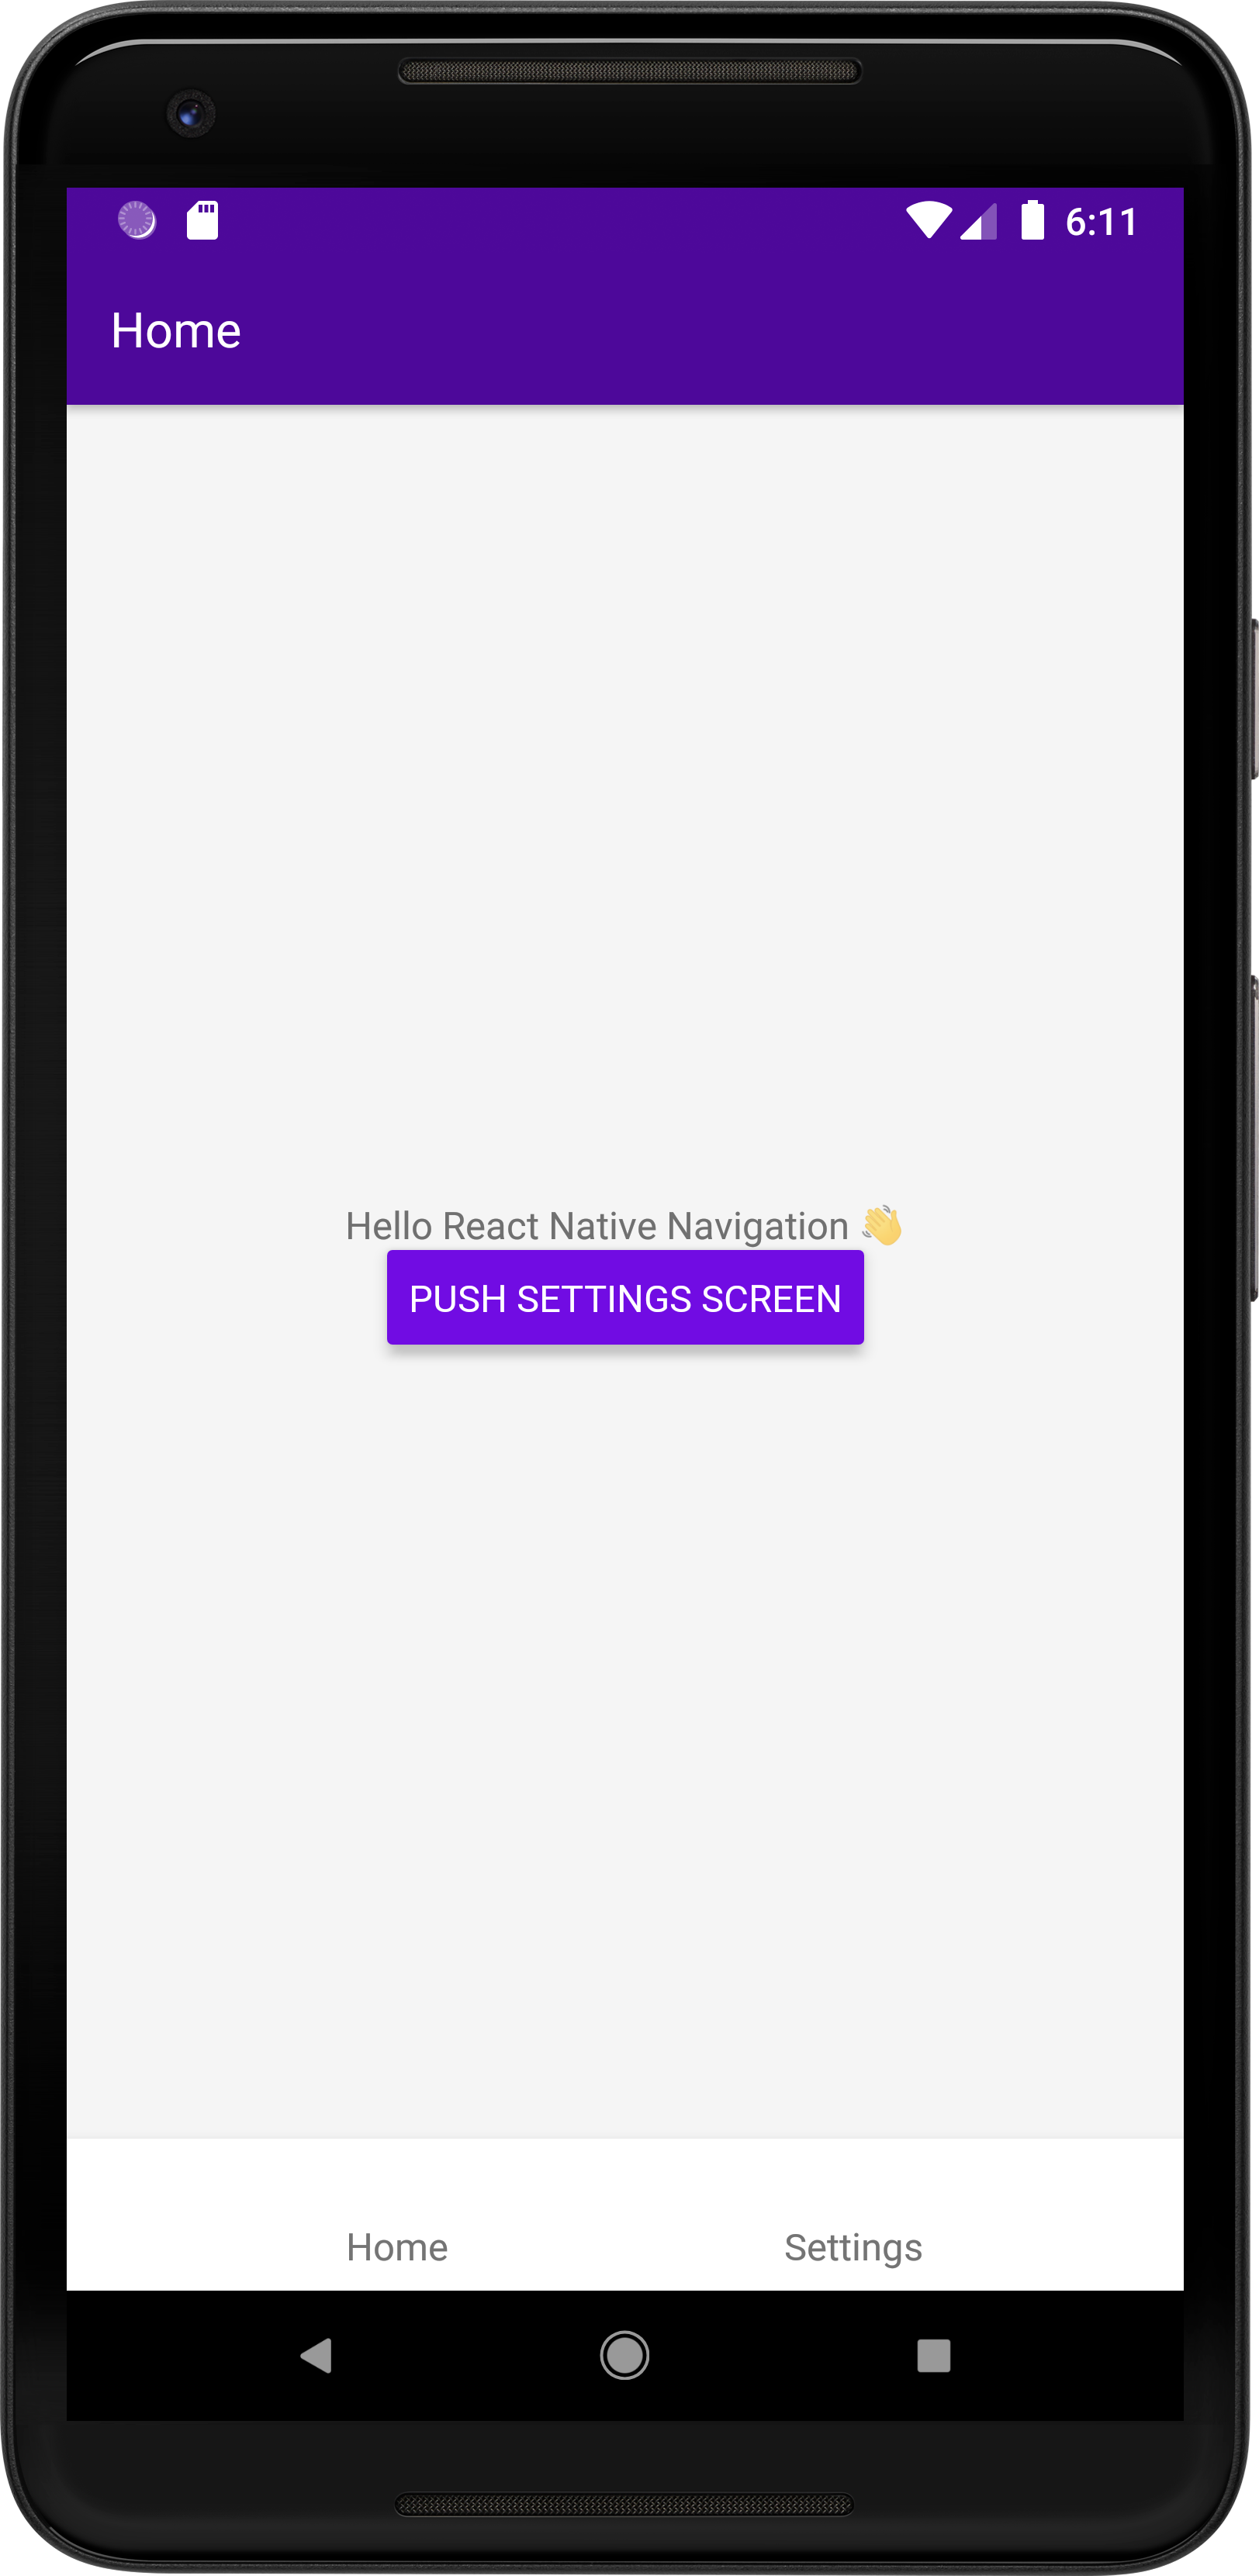
Now our app has two tabs at the bottom of the screen and our users can easily navigate between them.

Replacing the root#

Up until now, we've discussed how to navigate within the same layout structure. We'll now learn how to replace the entire layout structure to display a new Root. A real life example for this use case would be, for instance, if you need to switch from a login screen to the app's main root. Replacing the root fits this use case since we'd like to discard the previous root (login root) entirely when switching to the main root.

To demonstrate this, we'll make the following changes to our code:

  1. Add a login screen with a login button.
  2. When the button is clicked, we will switch to the main root.
  3. Replace our current root with the login screen. We'll also extract both roots to variables to improve code readability.
const LoginScreen = () => {
return (
<View style={styles.root}>
<Button
title='Login'
color='#710ce3'
onPress={() => Navigation.setRoot(mainRoot)}
/>
</View>
);
};
const HomeScreen = (props) => {
return (
<View style={styles.root}>
<Text>Hello React Native Navigation πŸ‘‹</Text>
<Button
title='Push Settings Screen'
color='#710ce3'
onPress={() => Navigation.push(props.componentId, {
component: {
name: 'Settings'
}
})} />
</View>
);
};
HomeScreen.options = {
topBar: {
title: {
text: 'Home'
}
},
bottomTab: {
text: 'Home'
}
};
const SettingsScreen = () => {
return (
<View style={styles.root}>
<Text>Settings Screen</Text>
</View>
);
}
SettingsScreen.options = {
topBar: {
title: {
text: 'Settings'
}
},
bottomTab: {
text: 'Settings'
}
}
Navigation.registerComponent('Login', () => LoginScreen);
Navigation.registerComponent('Home', () => HomeScreen);
Navigation.registerComponent('Settings', () => SettingsScreen);
const mainRoot = {
root: {
bottomTabs: {
children: [
{
stack: {
children: [
{
component: {
name: 'Home'
}
},
]
}
},
{
stack: {
children: [
{
component: {
name: 'Settings'
}
}
]
}
}
]
}
}
};
const loginRoot = {
root: {
component: {
name: 'Login'
}
}
};
Navigation.setDefaultOptions({
statusBar: {
backgroundColor: '#4d089a'
},
topBar: {
title: {
color: 'white'
},
backButton: {
color: 'white'
},
background: {
color: '#4d089a'
}
},
bottomTab: {
fontSize: 14,
selectedFontSize: 14
}
});
Navigation.events().registerAppLaunchedListener(async () => {
Navigation.setRoot(loginRoot);
});
const styles = StyleSheet.create({
root: {
flex: 1,
alignItems: 'center',
justifyContent: 'center',
backgroundColor: 'whitesmoke'
}
});

Conditional roots#

Now that our initial root is the Login root, we're facing a new problem - how do we show the Login root only to users that are not logged in? Since our initial root is determined in the registerAppLaunchedListener callback, we'll check if a user is logged in there and set the appropriate root accordingly.

Navigation.events().registerAppLaunchedListener(async () => {
Navigation.setRoot(isLoggedIn() ? mainRoot : loginRoot);
});
function isLoggedIn() {
// TODO: your business logic goes here
}