Using Genymotion SaaS
As the number of your end-to-end tests grows, the overall test session duration might easily surpass an hour or two.
A good idea first would be to parallelize the test execution using your test runner (e.g. for Jest that
would be forwarding --maxWorkers <N>), but this approach has its limitations. Indeed, an average build agent would handle
running a few virtual devices at once, but running a dozen devices at once would make it slow and unreliable.
In other words, if you're experiencing scaling issues or struggling with managing local Android emulators, a good idea would be to migrate to SaaS platforms, where you can start and stop devices on demand at any scale. At the moment, Detox can offer you a first-class integration with Genymotion SaaS, the platform that offers cloud-based Android Virtual Devices.
Prerequisites
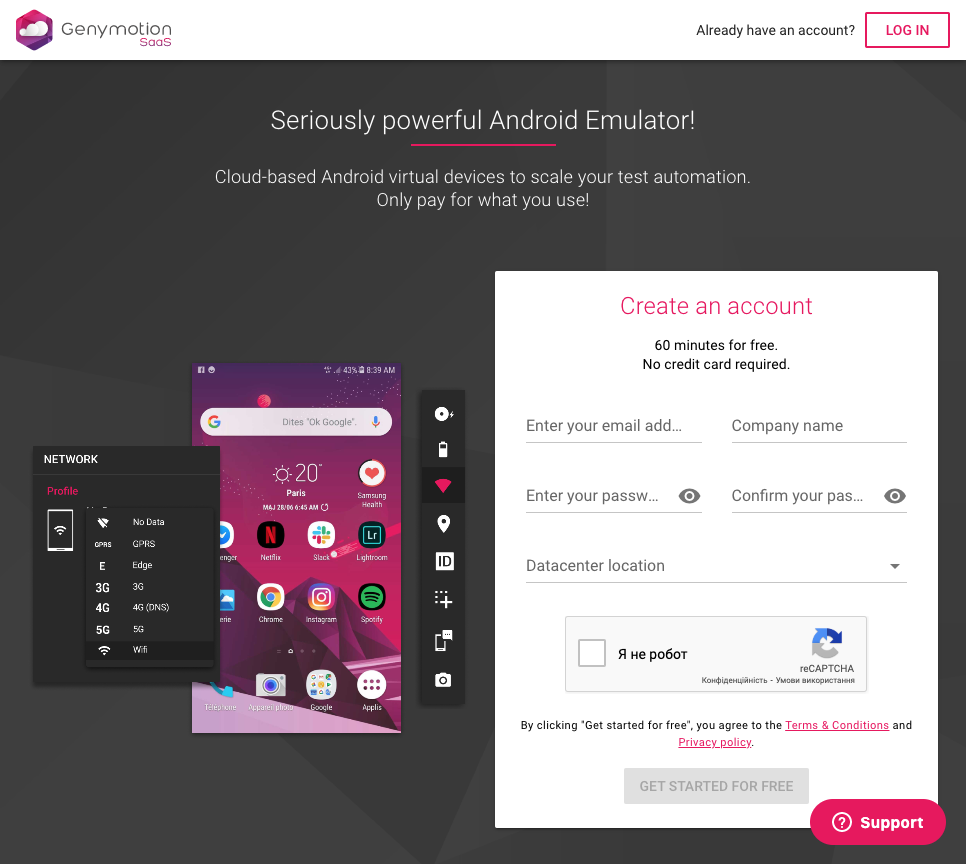
You need to register an account in Genymotion SaaS, so that you have valid credentials to use with their CLI tool,
gmsaas. If you already have an account there, make sure there are available device minutes. Don't worry about
the new accounts – they come with 2 concurrent devices and free 60 minutes out of the box.
Next, you should get gmsaas CLI tool installed and configured,
so that you're able to see your e-mail after running this:
gmsaas auth whoami
# your_email@example.com
If you encounter errors instead, please revisit the Genymotion SaaS tutorial and check out their Known Issues section if your problem persists.
Configuring
To run tests on a device, you need to define its properties first: OS version, screen dimensions, etc. This entire set of device specs is called a recipe. Genymotion SaaS offers you a predefined list of recipes to pick from, but you can create custom recipes as well. Refer to the Basic Steps tutorial on their website for more details.
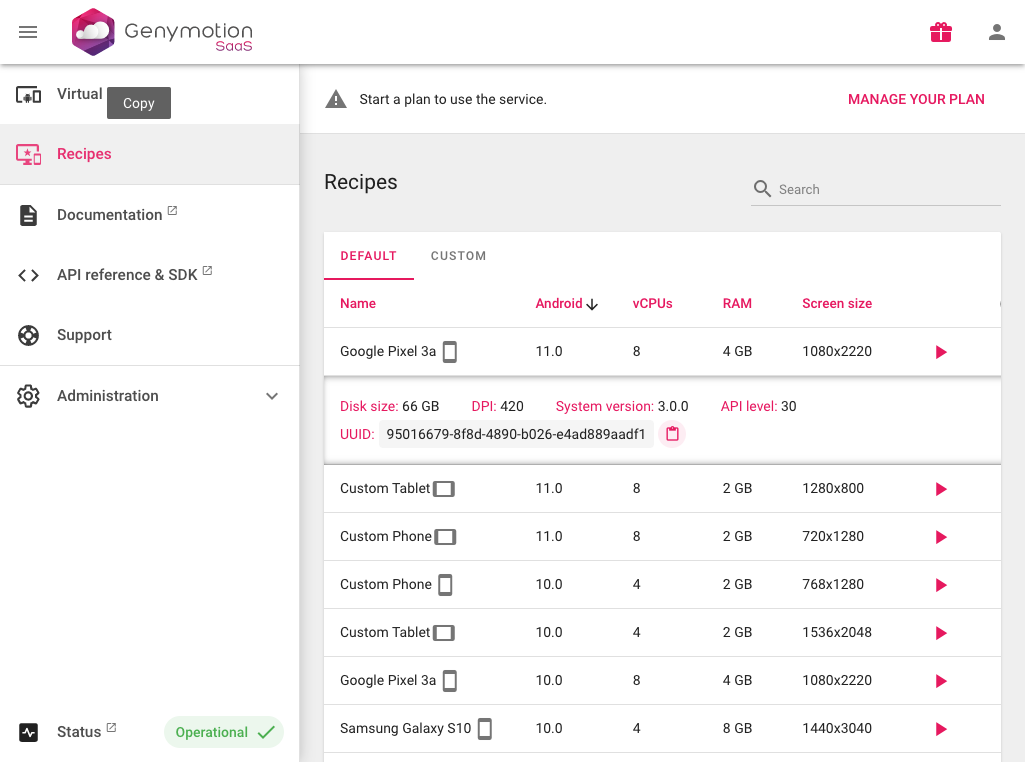
Each recipe item in the list can be expanded for extra details, and that's where you can find its respective UUID. Copy that UUID and use it to create a new device and a new configuration in your Detox config:
 module.exports = {
   devices: {
     simulator: { /* ... */ },
     emulator: { /* ... */ },
+    genycloud: {
+      type: 'android.genycloud',
+      device: {
+        recipeUUID: '<paste your chosen recipe UUID>'
+      },
+    },
   },
   apps: {
     'ios.debug': { /* ... */ },
     'ios.release': { /* ... */ },
     'android.debug': { /* ... */ },
     'android.release': { /* ... */ },
   },
   configurations: {
     'ios.debug': { /* ... */ },
     'ios.release': { /* ... */ },
     'android.debug': { /* ... */ },
     'android.release': { /* ... */ },
+    'android.genycloud.release': {
+      device: 'genycloud',
+      app: 'android.release',
+    },
   },
 };
Although the recipe UUIDs are guaranteed to be unique and never change unlike the recipe names, you still can use
the latter if you like – just switch from recipeUUID to recipeName property like this:
     genycloud: {
       type: 'android.genycloud',
       device: {
-        recipeUUID: '<delete your recipeUUID property>'
+        recipeName: '<paste the recipe name>'
       },
     },
   },
In the example above we assume you'll be running a release configuration of your app since this is what usually happens on CI.
Running debug builds is trickier to set up (and might be less stable), but if you have to do it, follow the instructions. You'll be setting up tunneling between your local machine (where React Native packager is running on port 8081) and the remote device in the cloud.
First, patch your MainApplication.java (or your main activity class) to override debug_http_host, e.g.:
 package com.example;

 import android.app.Application;
+import android.content.SharedPreferences;
+import android.os.Bundle;
+import android.preference.PreferenceManager;

 import com.facebook.react.ReactApplication;
 import com.facebook.react.ReactNativeHost;
@@ -37,6 +40,9 @@ public class MainApplication extends Application implements ReactApplication {
     public void onCreate() {
         super.onCreate();
         SoLoader.init(this, /* native exopackage */ false);
+        SharedPreferences preferences =
+            PreferenceManager.getDefaultSharedPreferences(getApplicationContext());
+        preferences.edit().putString("debug_http_host", "localhost:8081").apply();
     }

 }
Now, as your React Native app will be forced to use localhost:8081 to download the bundle, you'll need to make sure
that there is a tunnel between your local machine and the remote device – add 8081 to reversePorts in your app config,
e.g.:
  'android.debug': {
    type: 'android.apk',
    binaryPath: 'android/app/build/outputs/apk/fromBin/debug/app-fromBin-debug.apk',
    build: 'cd android && ./gradlew assembleFromBinDebug assembleFromBinDebugAndroidTest -DtestBuildType=debug && cd ..',
+   reversePorts: [8081],
  },
Clean your Android build intermediates and build your app again:
cd android
./gradlew clean # remove ./ on Windows
cd ..
detox build -c android.emu.debug
If your application is trivial enough, these adjustments should be already enough to run debug builds remotely.
Running
Assuming you have created a new android.genycloud.release configuration, run:
detox test -c android.genycloud.release
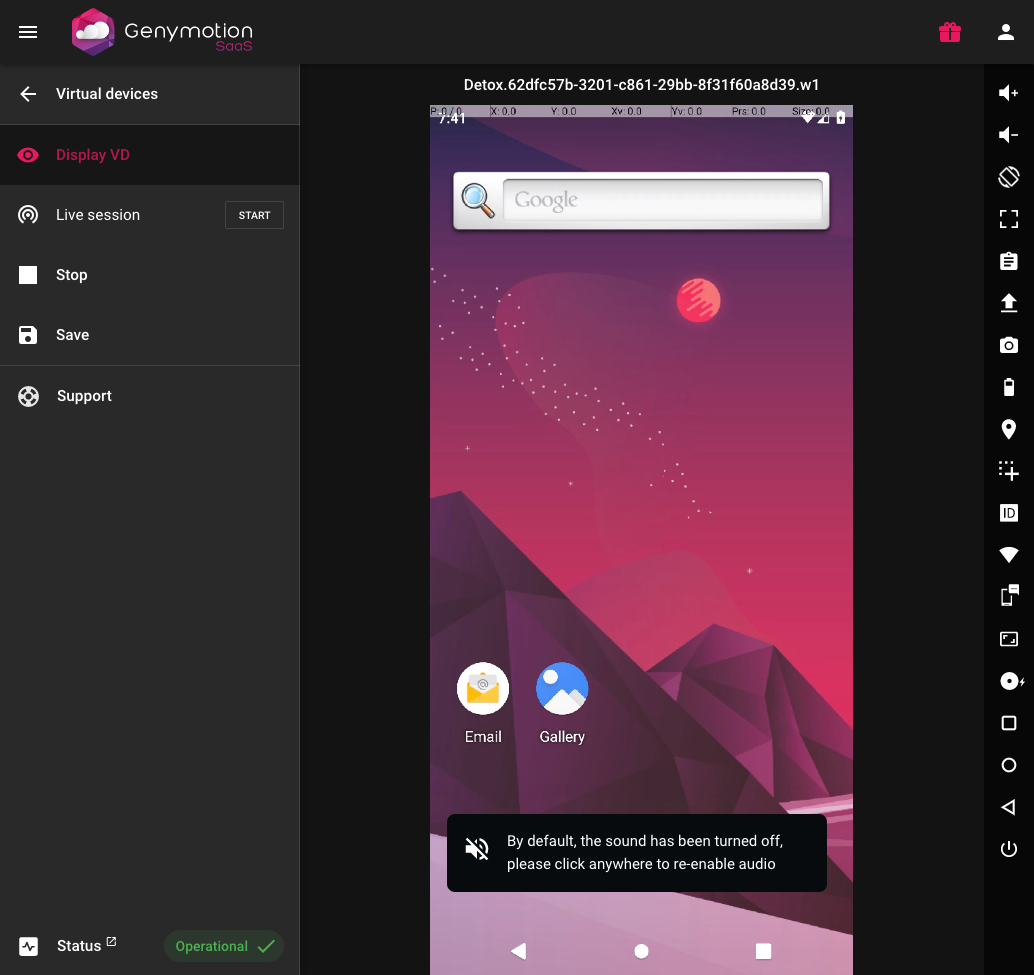
Soon enough you'll be seeing an output like this:
Allocating Genymotion-Cloud instance Detox.62dfc57b-3201-c861-29bb-8f31f60a8d39.w1 for testing.
To access it via a browser, go to: https://cloud.geny.io/instance/8fc62d21-3de0-4ed8-bf18-e69b90246dc5
Use the link to see what's happening on your device in real time:
After that, try running tests with 2 workers to make sure that your tests don't have issues with concurrency. The latter might happen if different test files are fighting over the same resource (e.g. deleting an account while another test is using it, and so on):
detox test -c android.genycloud.release --maxWorkers 2
# DETOX_CONFIGURATION="android.genycloud.release" jest --config e2e/jest.config.js --maxWorkers 2
# …
Free Genymotion SaaS accounts are limited to 2 concurrently running devices. If you need more devices or more minutes for testing, you can reach Genymotion's team at sales@genymobile.com.
Caveats
Termination
If you have to terminate your tests execution via Ctrl+C or another forcible way, pay attention to
the warnings printed, e.g.:
detox[22314] i WARNING! Detected a Genymotion SaaS instance leakage, for the following instances:
detox[22314] i Instance Detox.1e0ee8a4-6949-90c7-6680-5c3a9010d1e5.w1 (8fc62d21-3de0-4ed8-bf18-e69b90246dc5)
    Kill it by visiting https://cloud.geny.io/instance/8fc62d21-3de0-4ed8-bf18-e69b90246dc5, or by running:
    gmsaas instances stop 8fc62d21-3de0-4ed8-bf18-e69b90246dc5
Leaving the device unattended would mean spending extra money 😬 💵, so make sure to follow the instructions and stop your instances, e.g.:
gmsaas instances stop 8fc62d21-3de0-4ed8-bf18-e69b90246dc5
You can set up a safeguard for the maximum run duration on the Administration > Settings panel. This can minimize the costs even if you accidentally leave the device powered on.
We plan to improve this behavior and secure emergency teardown someday, but beforehand the next issue
should be resolved (see it below). Besides, Ctrl+C'ing proves to be useful when you want to leave the device active
at some point of your test scenario and interact with it manually.
behavior.shutdownDevice cannot be disabled
Detox CLI has -u, --cleanup argument, and the behavior config has the respective shutdownDevice property, but none of them can be effectively disabled on Genymotion SaaS devices.
Detox always shuts them down in the end of the test session, unless you abruptly terminate its execution (see the previous caveat).
In other words, you can't leave Genymotion SaaS devices up and running after your test session ends. On the ond hand, that reduces your chances to forget a running device. On the other hand, that doesn't allow you to keep a pool of immediately ready devices – a kind of strategy that could be more efficient for busier CI pipelines. There are plans to improve this in the future, but currently you have to bare with this caveat.