Basic navigation
Generally, any mobile app consists of various destinations which display some content to the user. And in vast majority of cases using an app means navigating between these destinations. React-native-navigation provides ways for you to layout your content on user screen in a logical and performant manner.
React Native Navigation's stack layout lets you push screens, and also navigate back to previous screens. Screens pushed into the stack hide the previous screen in the stack, making the user focus on a single screen at a time. Let's look at a stack layout that provides basic navigation for an app.
Creating a stack#
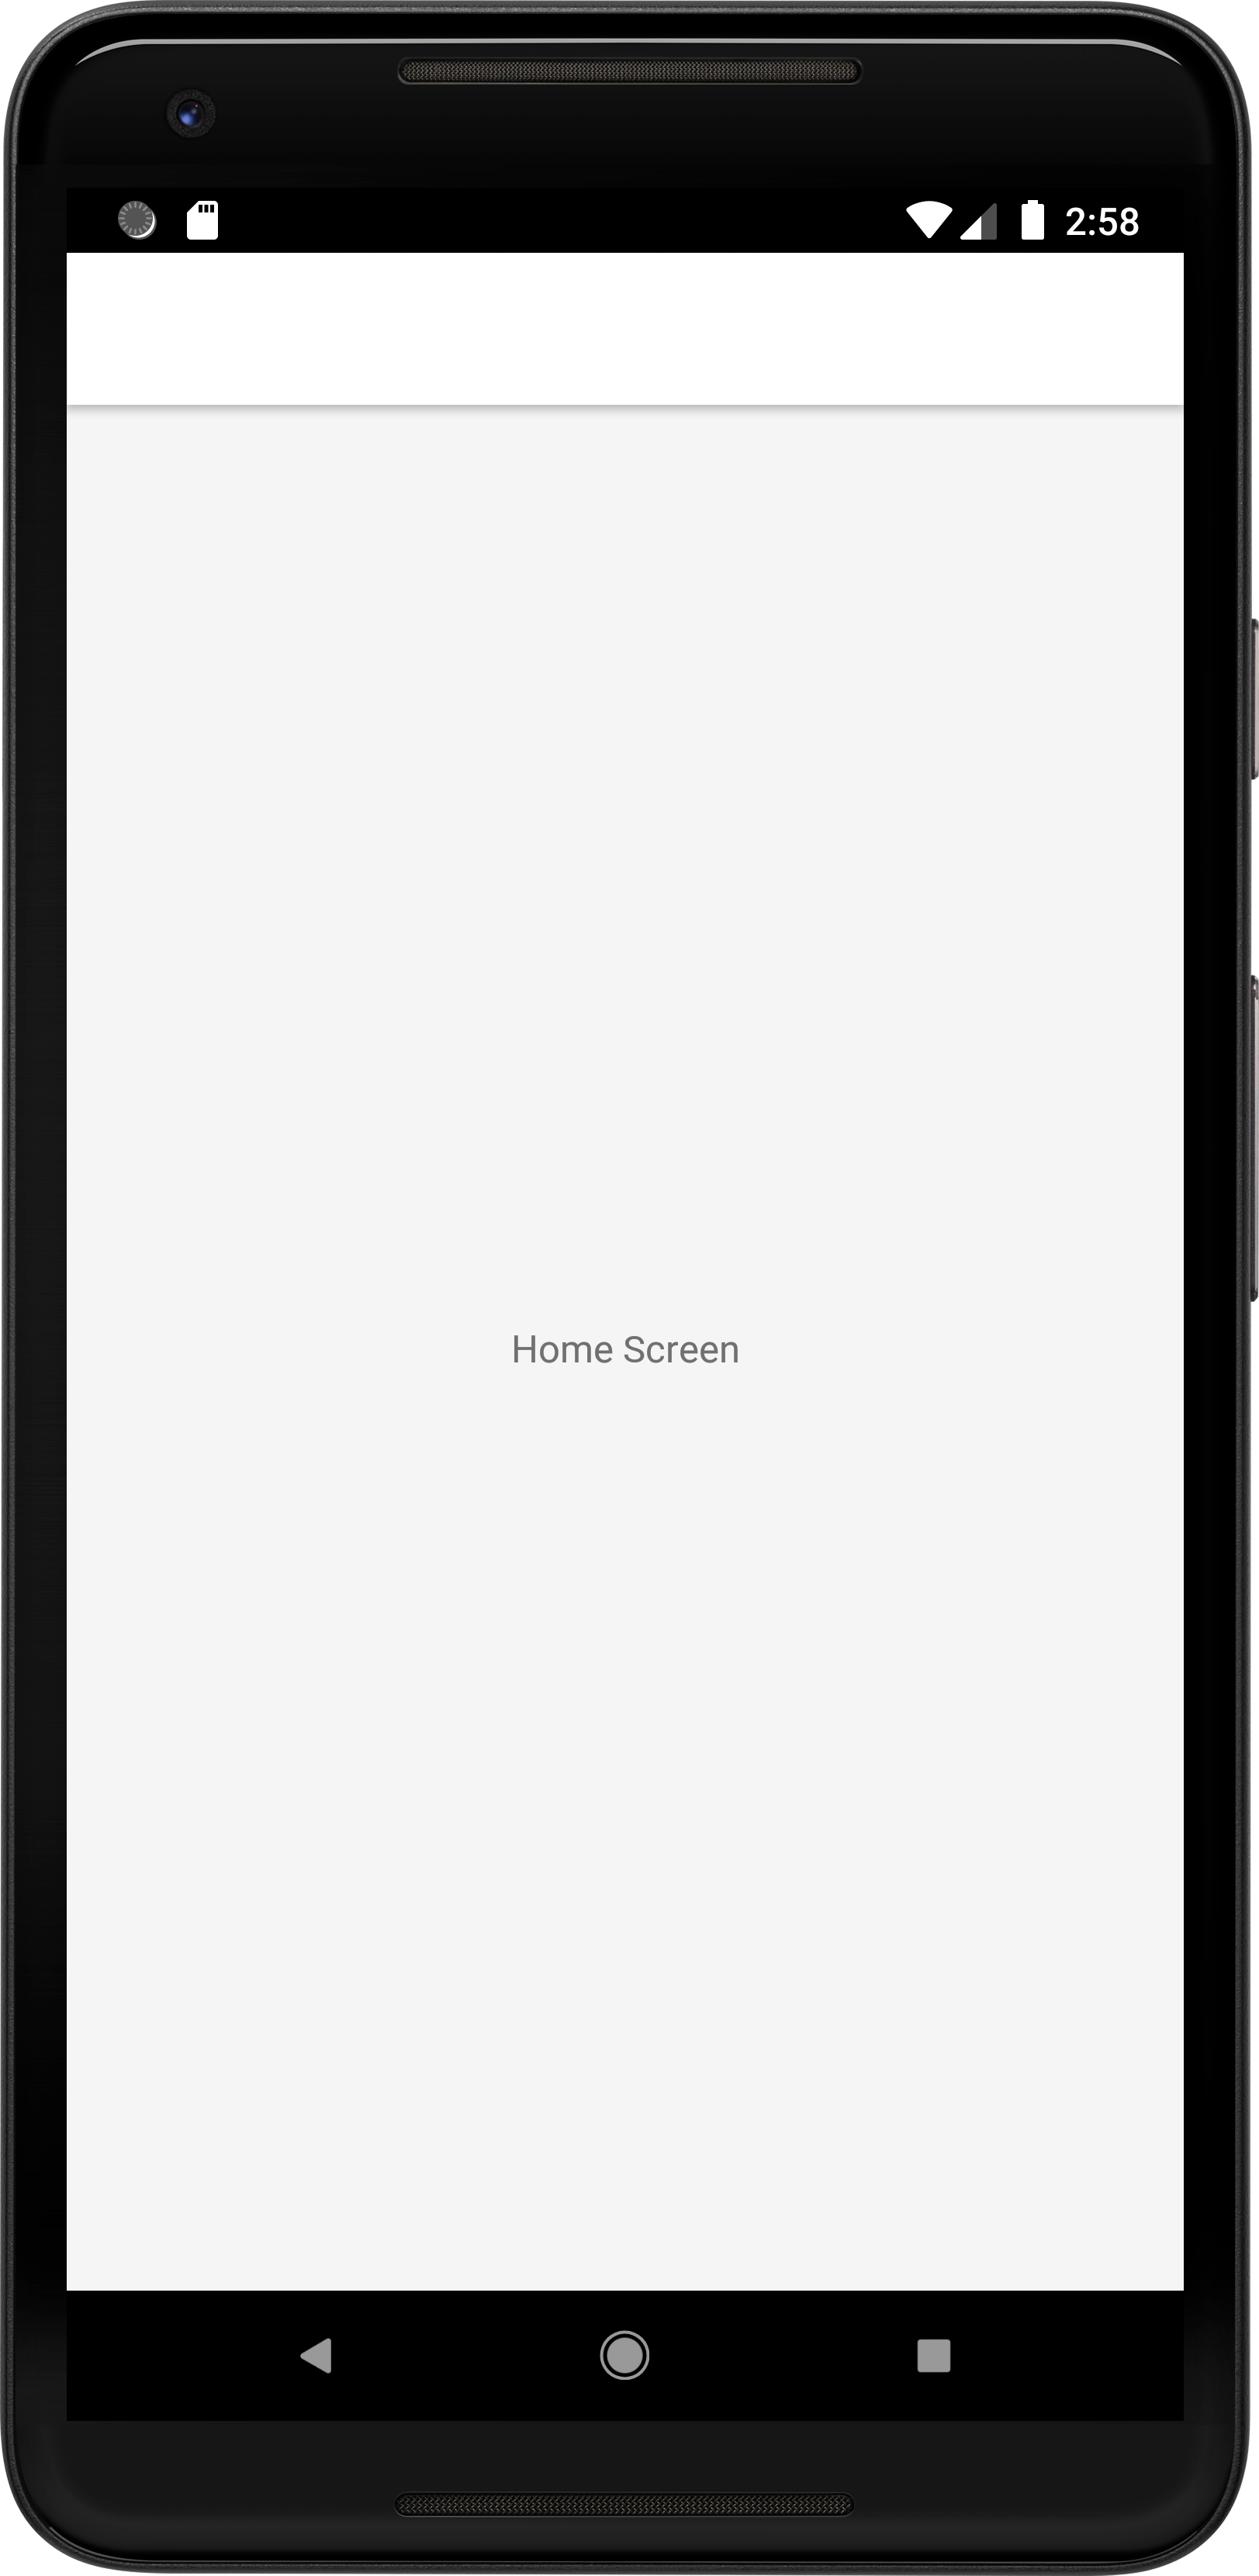
Running this code will render a screen with an empty TopBar and your HomeScreen component (shown below). The TopBar is part of the stack layout, we'll work on configuring it later.

Specifying options#
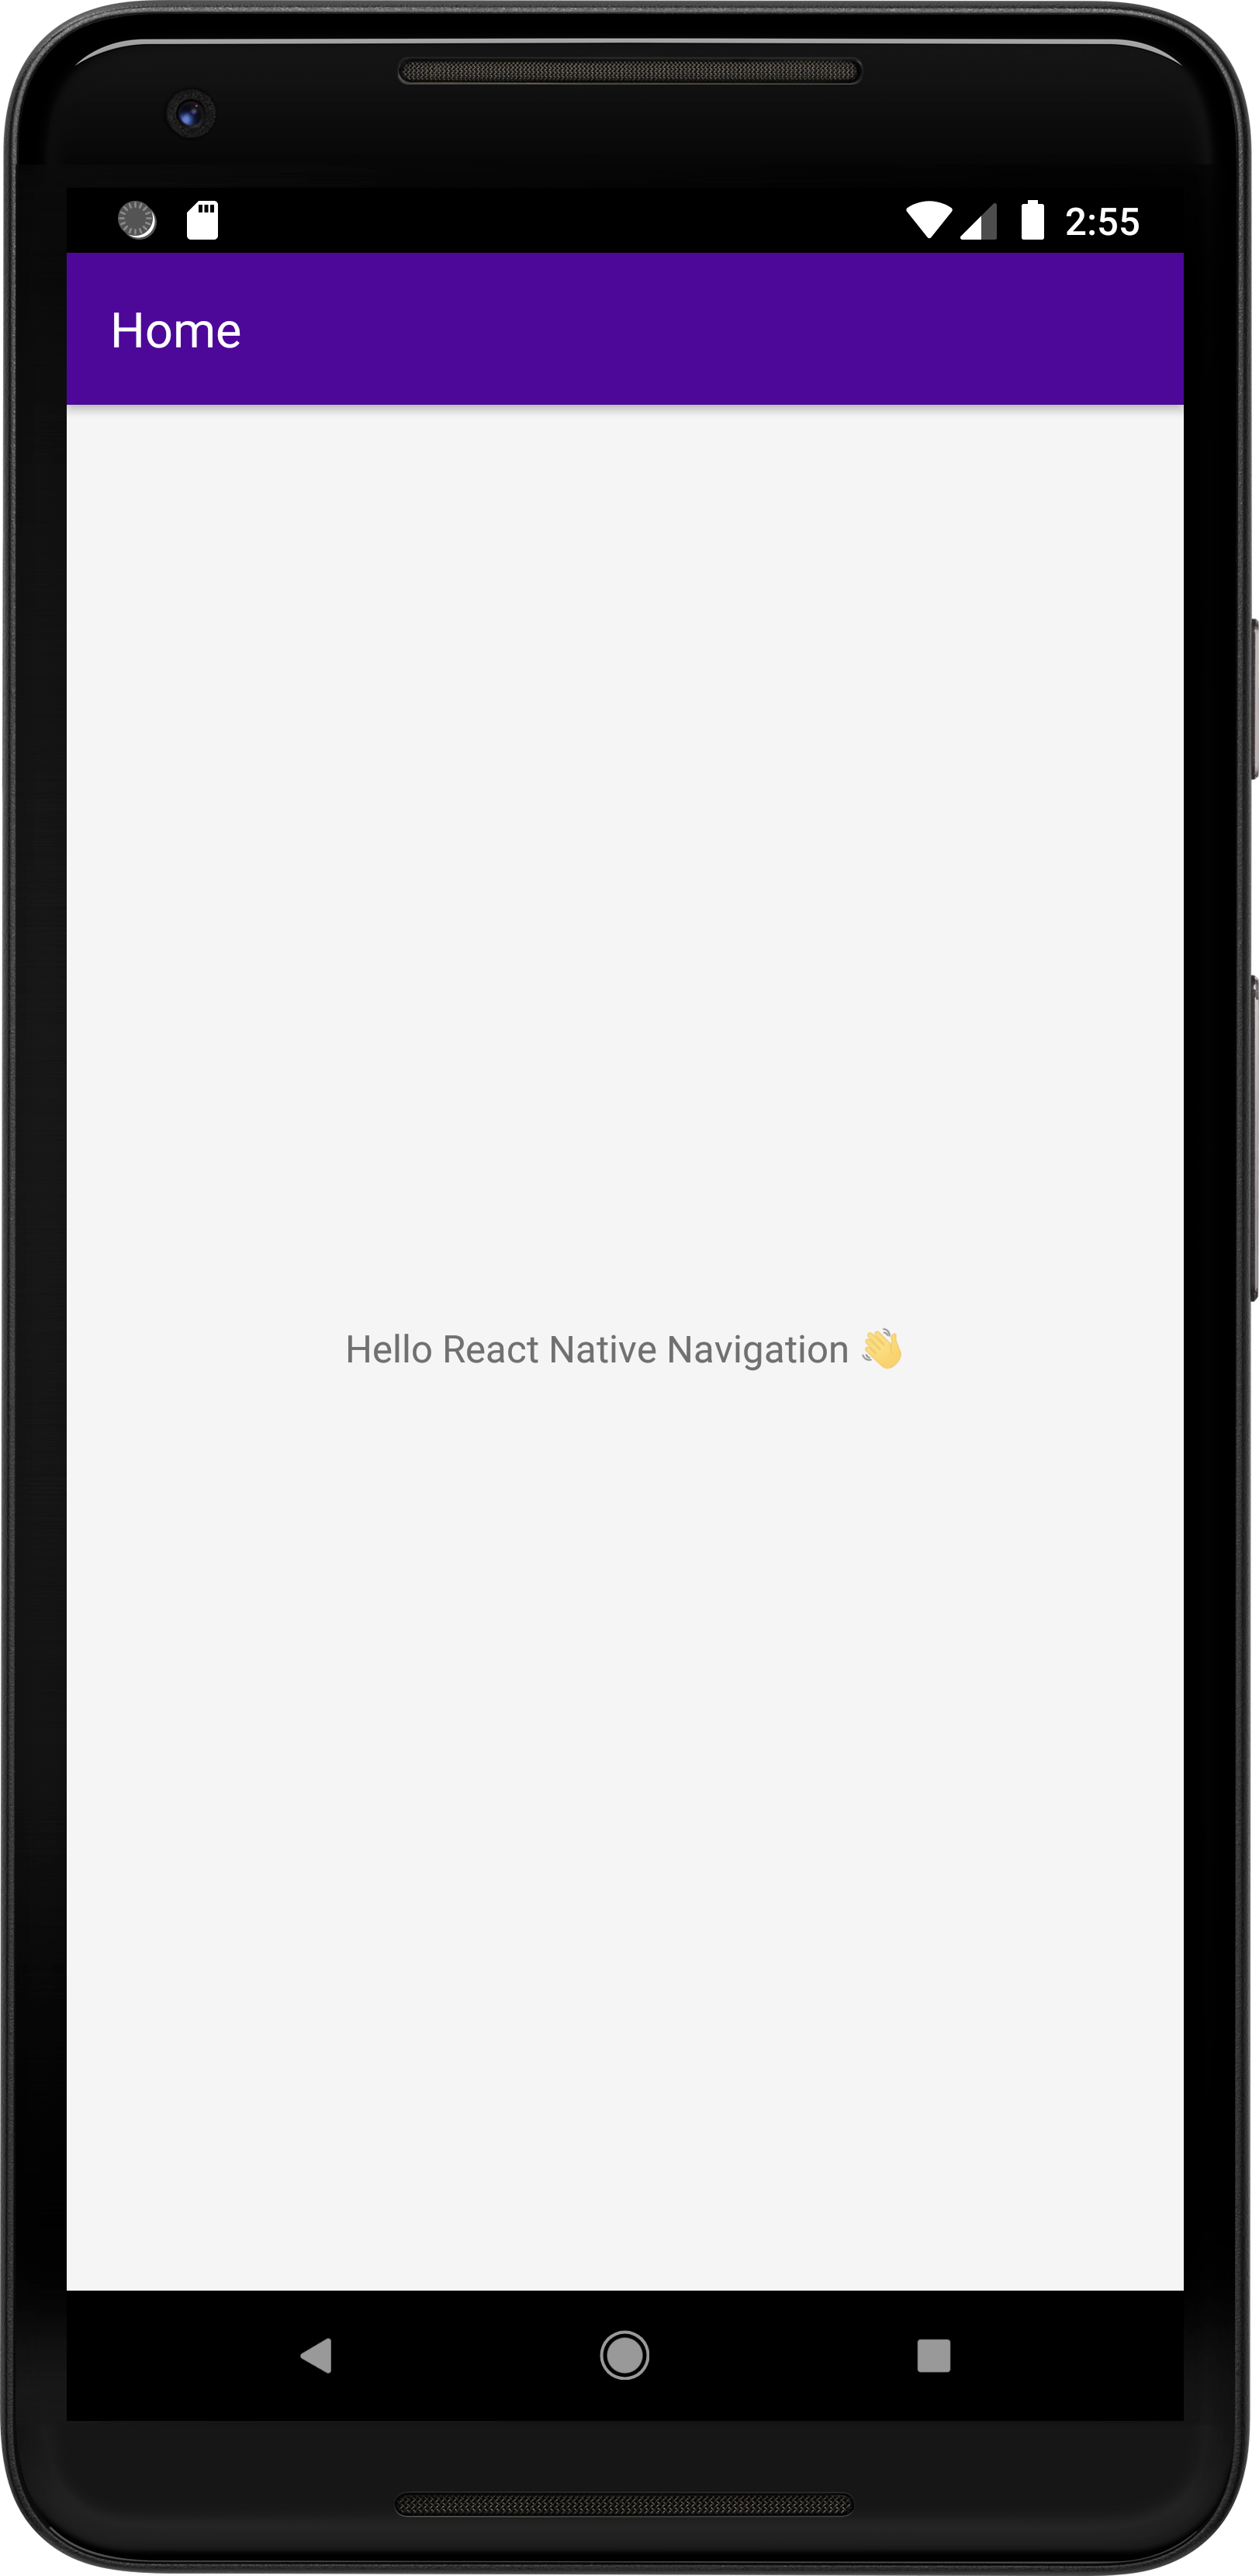
You can specify options of each layout (Stack, component pushed into a stack, etc.) to configure various parameters like the TopBar title or color. Lets spice things up by changing the TopBar color and while we're at it, also move the title to the TopBar.
Lets change the Home screen declaration to the following and reload the app to see the changes.
Our app should now look like this:

Navigating in a stack#
In the previous section we created a stack and initialized it with a single child. We'll now learn how to add another child to the stack. From now on, we'll call the action of adding children to the stack 'push', and removing children - 'pop'.
In order to push another screen to the stack, we will add a button to the home screen and call Navigation.push. The 'push' command accepts two parameters, the first is the id used to indicate into which stack to push the screen and the second is the screen we're pushing. After pushing a screen, a back button is added automatically to the TopBar so the users can navigate easily back to the previous screen.
You can read more about the stack layout here or dive right into the API here.
componentId
Each React component registered with Navigation.registerComponent is assigned a unique componentId by Navigation. This unique id is used with Navigation commands (like the push command) to indicate into which stack we'd like to push. In this case, by using the componentId of the Home screen, we are telling Navigation to push into the stack containing the Home screen.
Lets change our code to the following snippet below and reload the app. Now our Home should contain a button which when pressed, pushes a new screen into the stack. We've successfully navigated to a new screen! 👏

App theme#
Our app is growing and already contains two screens. This introduces a new problem - while the home screen has a nice purple TopBar, our settings screen seems pretty dull as it still uses the default system look and feel.
Currently, our style declaration applies only to the Home screen, so lets apply it to all of our screens by using Navigation.setDefaultOptions.
We need to add this snippet before registering the registerAppLaunchedListener. This way we ensure our theme is applied when our root is set. Our code should now look like this:
Lets run our code again - now our design is consistent across both screens.

Summary#
We've learned the basics of navigation with React Native Navigation by implementing a stack and pushing screens into it. We've also learned a few methods of applying styles to our screens and layouts with the Options mechanism.
- Navigation.setRoot() sets the root layout of our app. The initial root has to be set from an
AppLaunchedEventcallback. - Options can be applied directly to components.
- Screens can be added to a stack with the
Navigation.push()command. - Components registered with
Navigation.registerComponent()are injected with acomponentIdwhich is used when navigating. - Themes are applied via the
Navigation.setDefaultOptions()command.
In the next section we'll explore a more advance navigation patterns using BottomTabs layout and also see how, and why, multiple roots are set.